- Published on
在React中使用Intersection Observer
- Authors

- Name
- Deng Hua
目录
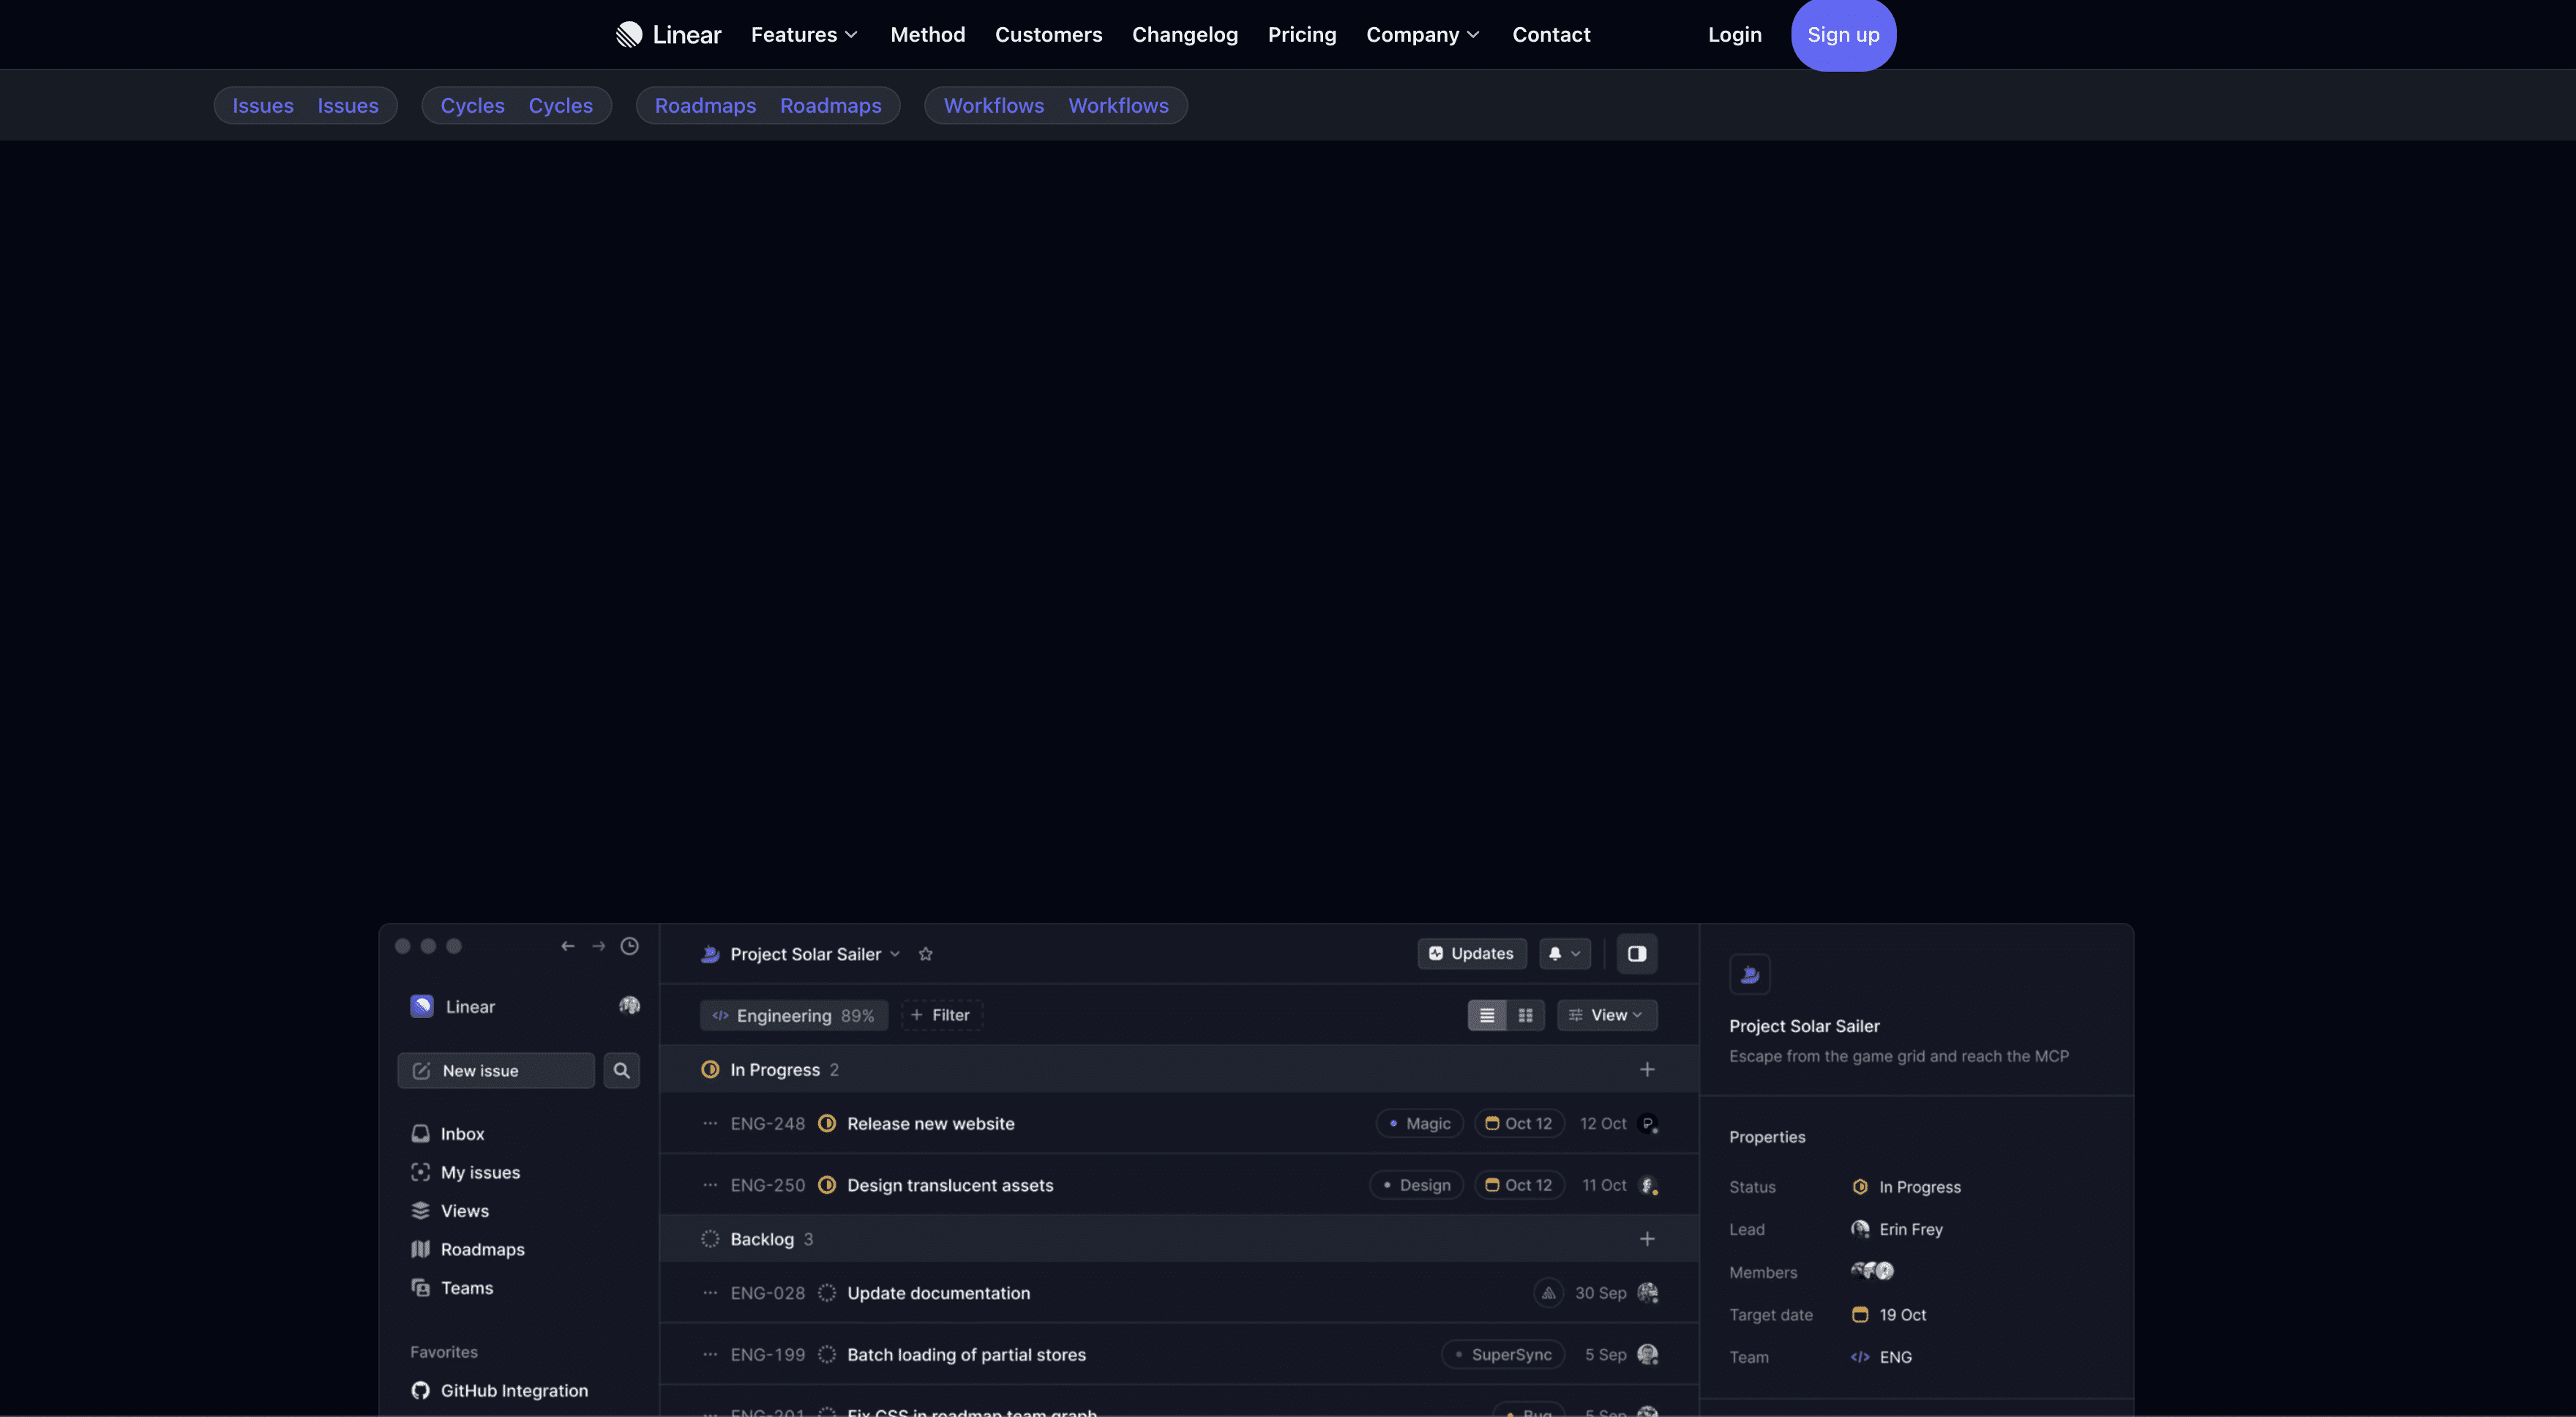
本文将探讨如何在React中使用Intersection Observer。以Linear的登录页面为例。
使用Vite设置React
首先,我们使用命令npx create vite app创建一个 Vite React 应用程序,并选择 React 作为Library。
接下来,按照 Tailwind CSS 官方文档中概述的简单六步流程集成 Tailwind CSS。
设置完成后,使用 npm run dev 启动开发服务器并导航到 localhost:5173 以查看你的应用程序的运行情况。

初始化的登录页面可使用我的gist内的代码片段: initial-landingPage.jsx
基本上应该是这样的一个页面

了解 Intersection Observer
Intersection Observer是Web浏览器提供我们的一个API,可根据视窗元素的可见性进行操作。它可以高效地检测元素何时可见何时隐藏,是基于滚动的动画实现的理想选择。
常见的一些操作,如:
- 在页面滚动时“懒加载”图像或其他内容。
- 实现“无限滚动”,在滚动过程中加载和显示越来越多的内容,这样用户就不必翻页了。
- 报告广告的可见度,以便计算广告收入。
- 根据用户是否能看到结果来决定是否执行任务或动画进程。
这是一个基本的代码示例:
const observer = new IntersectionObserver(callback);
const targetElement = document.querySelector("selector");
observer.observe(targetElement);
为了简化 React 应用程序中Intersection Observer的实现,我们将使用 react-intersection-observer 包。使用以下命令将其安装到您的项目中:
npm i react-intersection-observer
该包提供了一种简单且对 React 友好的方法来使用 Intersection Observer API。
回顾一下我们要复制的效果:
我们重点关注两个方面:
- 检测
section-wrapper下的四个section何时进入视窗。 - 将导航栏从隐藏转变为主导航栏下方可见。
在 LandingPage 组件中,首先使用 react-intersection-observer 中的 useInView钩子。
import { useInView } from "react-intersection-observer";

const { ref, inView } = useInView({
  threshold: 0.2,
});
该钩子接受一个 threshold 参数,表示触发前的可见性百分比。它返回一个 ref 和一个状态 inView,表示该元素是否在视图中。
将 ref 分配给您要监视的 DOM 元素,在本例中是id为section-wrapper的元素。
使用 inView 可以控制导航栏是否显示以及过渡效果:
<nav
  className={`z-20 bg-white/5 fixed flex px-60 text-white list-none left-0 right-0 top-12 transition-all duration-[320ms]
    ${inView
      ? "opacity-100 translate-y-0 backdrop-blur-[12px]"
      : "opacity-0 translate-y-[-100%] backdrop-blur-none"
    }`}
/>
// ...
此时,当向下滚动到section-wrapper在浏览器视窗中出现的时候,辅助导航栏将显示。
实现在滚动动画上的高亮提示
下一步将根据视图中的对应section来显示对应的辅助导航链接:
重点关注两个方面:
- 检测每个单独的
section何时进入视图。 - 展开并高亮显示视图中的
section相对应的链接。
单独检测每个section
使用 react-intersection-observer 中的 InView 组件来代替 useInView 检测视图中的section。
这种方法允许我们在 map 方法中指定组件一次,而不是调用hook四次(每个部分一次)。 按如下方式更新section-wrapper元素:
// 引入<InView>组件
import { useInView, InView } from "react-intersection-observer";

// Section wrapper
<div id="section-wrapper" ref={ref}>
  {sections.map((section) => (
    <InView onChange={setInView} threshold={0.8} key={section}>
      {({ ref }) => {
        return (
          <div
            id={section}
            ref={ref}
            className="flex justify-center items-center py-[300px] text-white text-5xl"
          >
            {section}
          </div>
        );
      }}
    </InView>
  ))}
</div>;
对于 <InView>组件,我们指定了三个属性:
onChange(视图内状态更改时的回调函数)threshold( 0和1 表示触发前应可见的百分比)key(用于list)
跟踪视图中的当前 section
要跟踪视图中的当前部分,需要维护分配给 onChange 属性的 setInView 函数更新的状态。此状态更新为视图中部分的 id。
// 跟踪当前活动section的状态
const [visibleSection, setVisibleSection] = useState(sections[0]);

// // 当一个sectoin进入视窗时调用callback
const setInView = (inView, entry) => {
  if (inView) {
    setVisibleSection(entry.target.getAttribute("id"));
  }
};
当某个section处于视图中时,展开相应的导航链接以容纳两个导航链接,并更改其背景颜色。为了控制宽度的变化,维护两个状态:open 和 closed。这样我们就能动态调整每个导航链接的宽度。
const menuWidths = {
  Issues: {
    open: "124px",
    closed: "65px",
  },
  Cycles: {
    open: "128px",
    closed: "65px",
  },
  Roadmaps: {
    open: "178px",
    closed: "94px",
  },
  Workflows: {
    open: "176px",
    closed: "92px",
  },
};
根据 visibleSection 更新每个导航链接,并调整相应的背景颜色(注意这里改的是<Nav>下的链接)。
<nav
  //...
>
  <div className="flex items-center justify-center h-12 gap-4 text-sm">
    {sections.map((section) => (
      <div
        key={section}
        className={`transition-all duration-300 flex rounded-full border border-white/5 bg-white/5 overflow-hidden  px-3 py-0.5 backdrop-blur-none`}
        style={{
          width: visibleSection === section
            ? menuWidths[section].open
            : menuWidths[section].closed,
        }}
      >
        <span
          className={`-ml-2 mr-2 px-2 ${
            visibleSection === section
              ? `bg-indigo-500/70 border-indigo-50 rounded-full`
              : ``
          }`}
        >
          {section}
        </span>

        <span>{section}2</span>
      </div>
    ))}
  </div>

{/* ... */}
</nav>
最终效果: